How to Repair Parquet Flooring – Wood Floor Repairs Guide
Our article will explain how to repair parquet flooring to give you the ability to revitalise your own floor without the need for a floor restoration company.
How to Repair Parquet Flooring: The Floor Repair Guide You Need
Parquet flooring is renowned for its elegance and timeless appeal. However, over time, even the most well-maintained parquet floors can show signs of wear and tear. This article will walk you through the steps to refurbish parquet flooring, ensuring your floors look as stunning as they did when first installed. This is not as simple as just floor sanding and re-staining as it may involve a floor repair to some locations. Given that parquet flooring has seen a resurgence in recent years (especially herringbone), It makes sense to carry out your own parquet floor restoration rather than laying a modern alternative.
Understanding Parquet Flooring
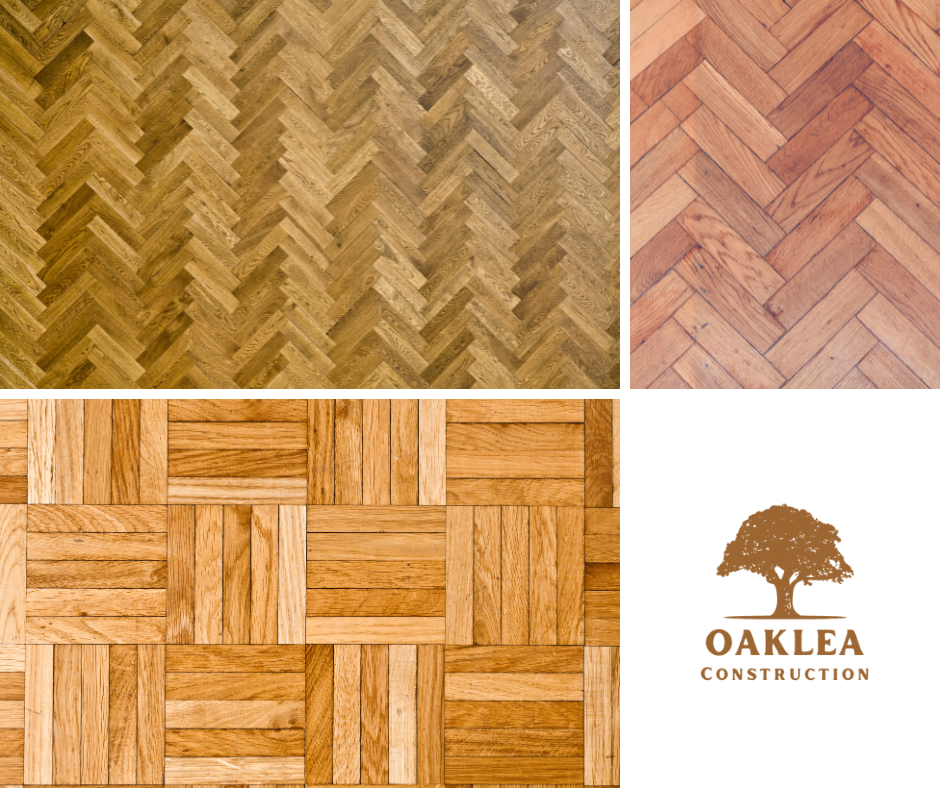
Parquet flooring consists of small wooden blocks or strips arranged in decorative patterns. While beautiful, parquet floors require regular maintenance and occasional repair to keep them looking their best. Common issues include damaged areas, blocks that have become loose, scratches, and dull finishes.
Tools and Materials Needed
Before you begin, gather the following tools and materials:
- Replacement parquet blocks
- Wood glue
- Putty knife
- Sandpaper (various grits)
- Floor sander
- PVA
- Vacuum cleaner
- Damp cloth
- Stain or varnish
- Soft brush or roller
- A selection of potential floor polishes
Step-by-Step Guide to Parquet Floor Repair
1. Inspect the Floor
Start by inspecting your parquet floor for loose, damaged, or missing blocks. Identify areas that need repair and make a note of the extent of the damage. This will help you determine the amount of materials and time needed for the repair.
2. Remove Damaged Parquet Blocks
Using a putty knife, carefully lift and remove the damaged parquet blocks. Be gentle to avoid damaging surrounding blocks. If a block is firmly stuck, you may need to use a chisel to loosen it. Remove the affected blocks that are beyond repair and apply wood glue to the back of the replacement parquet blocks (Note that this may need to be done intricately with a multi tool as some types of parquet are tongue and groove meaning that it will be difficult to remove blocks without damaging other areas).
3. Clean the Subfloor
Once the damaged blocks are removed, clean the subfloor thoroughly. Remove any debris, old adhesive, or dirt. A clean surface ensures better adhesion for the new blocks.
4. Install Replacement Blocks
Carefully fit the new sections of parquet into the vacant spaces, ensuring they are aligned with the existing pattern. Press down firmly to secure them in place. Wipe away any excess glue with a damp cloth. If you do not have the necessary replacement blocks, these can often be found advertised on Facebook Marketplace, eBay and other similar sites. It is important when purchasing replacement blocks, that you get the dimensions and wood type correct to ensure a consistent finish.
5. Parquet Floor Sanding
Once the glue has dried, sand the parquet using a suitable floor sander to buff out any minor scratches, previous varnishes and imperfections. Start with a coarse grit sandpaper to remove old finish and level the surface. Gradually move to finer grits for a smooth finish. Sanding helps to blend the new blocks with the existing floor and prepares the surface for refinishing. Remember to keep hold of the wood dust for step 6.
6. Fill Gaps and Cracks
Inspect the floor for any gaps or cracks. Use a stiff mix of PVA and wood dust for gap filling, smoothing it out with a putty knife. Once you have used your mix to fill the gaps appropriately, allow the filler to dry completely before proceeding.
7. Clean the Floor
Vacuum the floor to remove all dust and debris from sanding. Wipe it down with a damp cloth to ensure a clean surface for staining or varnishing.
8. Stain or Varnish the Floor
Finally, the floor is ready to be stained or varnished. Choose a stain or varnish that matches your existing parquet floor. When it comes to wood floor staining, it is important to test a number of stains prior to coating the whole section of flooring. Apply the stain or varnish evenly using a soft brush or roller. Allow it to dry according to the manufacturer’s instructions. Multiple coats may be necessary to achieve the desired finish.
9. Polish the Floor
After the stain or varnish has dried completely, apply a floor polish to enhance the shine and protect the surface. Use a soft cloth or mop to apply the polish evenly. This should give you the desired floor finish and finalise your wood floor restoration.
Maintenance Tips for Parquet Flooring
- Regular Cleaning: Sweep or vacuum regularly to remove dust and dirt. Use a damp mop for deeper cleaning, but avoid excessive moisture.
- Protective Pads: Use felt pads under furniture legs to prevent scratches and dents.
- Avoid High Heels: High heels can dent and damage parquet floors. Encourage guests to avoid wearing them indoors.
- Immediate Spill Clean up: Wipe up spills immediately to prevent staining and water damage.
- Regular Polishing: Polish your parquet floor periodically to maintain its shine and protect the finish.
Conclusion
Repairing parquet flooring may seem daunting, but with the right tools and techniques, it’s a manageable DIY project. By following this guide, you can restore the beauty of your parquet floors and extend their lifespan. Regular maintenance and prompt repairs will ensure that your parquet flooring remains a stunning feature of your home for years to come.
For professional help or more complex repairs, consider hiring an experienced flooring refurbishment contractor. They can provide expert advice and services, ensuring your parquet flooring is restored to its former glory.